Cloudhouse Guardian (Guardian) can be used to run an industry-standard benchmark across your nodes on a weekly basis.
Guardian provides a wide range of industry best practice benchmarks based on CIS standards. While scanning the configuration of a node should happen daily, we recommend scheduling a benchmark report over your nodes on a weekly basis to check for common security-based settings. This guide shows you how to group nodes of a common type, assign a benchmark to that group and then schedule the benchmark to be run across all nodes in that group on a weekly basis.
Overview
Here we are going to:
-
Collect common nodes into a node group.
-
Assign a benchmark to this node group.
-
Schedule the benchmark to be run on a weekly basis.
Group Nodes
Many benchmarks are applied to a specific operating system so it's important to collect nodes into groups based on this common property. For common operating system families such as Linux and Windows, we automatically generate and sync dynamic node groups based on the operating system, but you may sometimes need to create more specific groups, for example a Red Hat Linux group or even an RHEL 6 group.
To create a custom dynamic node group, please refer to Static / Dynamic Node Groups. The benefit of creating a dynamic group is that you can define a common property once and any nodes that are detected with this property can be automatically added to this group in the future. You can also create a standard (non-dynamic) node group and manually add nodes to it.
To view the nodes in a particular node group, visit the Monitored tag (Inventory > Monitored) and select the desired node group in the Node Groups panel on the left hand side. Note down the name of your node group as you'll need it in the next step to assign a benchmark to.
Assign a Benchmark
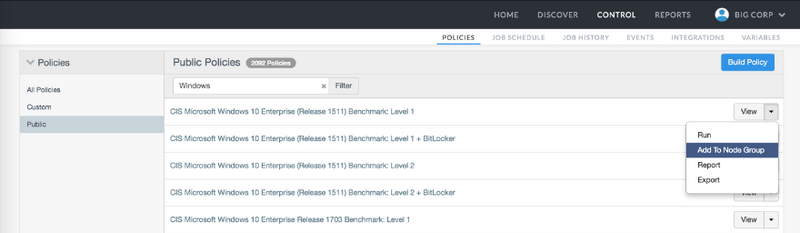
To locate the benchmark you would like to assign, navigate to the Policies tab (Control > Policies). This window will display all of your custom policies and public benchmarks. You can filter to show just public benchmarks by clicking Public on the left bar. You can further refine your search by using the filter bar to search for a benchmark by name. When you have found the benchmark you want to schedule, click on the down arrow on the right side of the benchmark and select Add To Node Group.
Select the node group you want to assign the benchmark to and then close the node groups window when done.
Schedule a Weekly Report
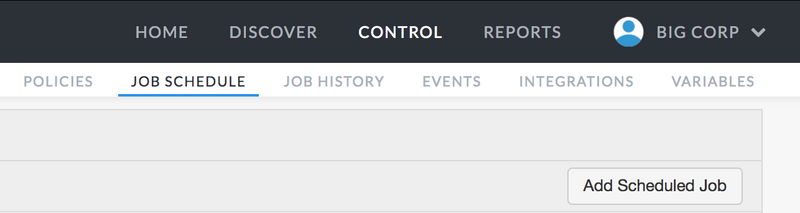
To schedule the benchmark to be run on all nodes in this node group on a weekly basis, navigate to the Job Schedule tab (Control > Job Schedule) and click Add Scheduled Job.
Locate the Job Type "Benchmarks - Node Group" then select the name of the node group under the Source element. In the example below we have chosen to run this benchmark over all of our Windows nodes, every Sunday night at 3:14am. If there are any failures, we've asked the scheduled job to let the Operations Team know via email.
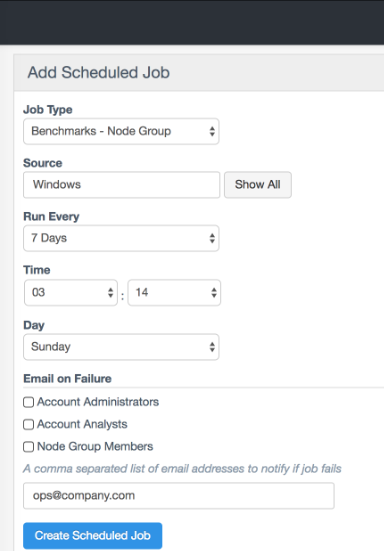
Clicking Create Scheduled Job will schedule the weekly job. For testing purposes, you may like to schedule an initial run of this job within the next 15 minutes, for example, to confirm it executes and reports correctly, then shift it back to a convenient weekly time.
What Next?
Upon running, if there are any failures, the designated email addresses will be notified. You can also view the results of benchmark runs at any time by navigating to Benchmark Reports tab (Reports > Benchmark Reports) and selecting the particular benchmark you are interested in.